
Easy and Beautiful Resin Art: Unleash Your Creativity
LIFESTYLE
Resin art
Resin art is a fascinating and versatile form of artistic expression that allows you to create stunning designs and bring your imagination to life. Whether you're a seasoned artist or a beginner looking to try something new, resin art is the perfect medium to explore.
What is Resin Art?
Resin art involves mixing resin and a hardener, which then creates a chemical reaction resulting in a solid and glossy finish. This unique material can be poured onto various surfaces, such as canvas, wood, or even furniture, to create mesmerizing designs.
Getting Started
Before you dive into resin art, it's essential to gather the necessary materials. You will need:
Resin and hardener
Mixing cups and stir sticks
Pigments or dyes
Protective gloves and apron
Heat gun or torch
Canvas or other surfaces
Step-by-Step Guide
Now that you have everything ready, let's dive into the step-by-step process of creating resin art:
1. Prepare your workspace
Find a well-ventilated area and cover your workspace with a plastic sheet or newspaper to protect it from any spills or drips.
2. Mix the resin
Follow the instructions provided with your resin and hardener to mix the appropriate ratio. Stir the mixture thoroughly for about 3-5 minutes to ensure it is well combined.
3. Add color
If you want to add color to your resin, now is the time. You can use pigments, dyes, or even acrylic paints to create unique hues. Mix the color thoroughly until you achieve the desired shade.
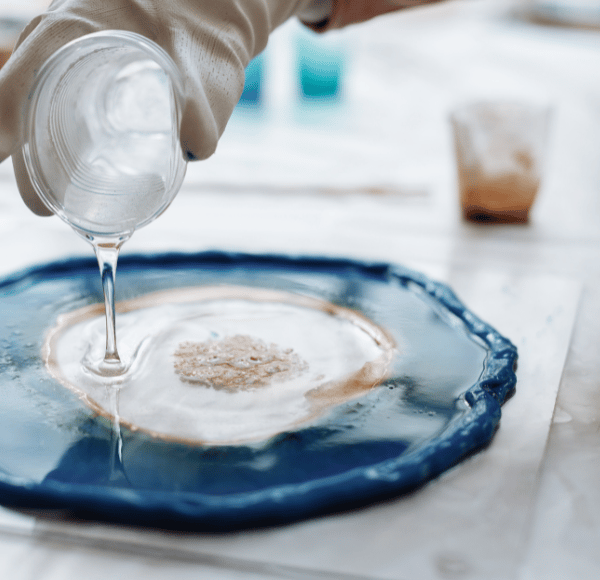
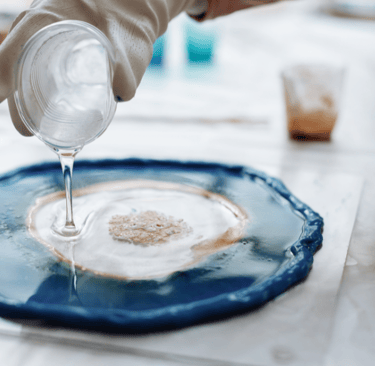
4. Pour the resin
Slowly pour the resin mixture onto your chosen surface. You can create various patterns and designs by pouring in different ways, such as straight lines, swirls, or even random drops.
5. Create designs
Once the resin is poured, you can use various tools like a toothpick, skewer, or even a heat gun to create beautiful designs. Experiment with different techniques and let your creativity flow.
6. Remove bubbles
Use a heat gun or torch to remove any bubbles that may have formed during the pouring process. Be careful not to overheat the resin, as it may cause unwanted effects.
7. Let it cure
Allow your resin art to cure in a dust-free area. The curing time will depend on the brand of resin you are using, so make sure to follow the instructions provided.
8. Finishing touches
Once your resin art is fully cured, you can add any final touches you desire. This could include adding additional layers of resin, sanding the surface for a smoother finish, or even adding embellishments like glitter or beads.
What Can You Make with Resin?
The possibilities with resin art are endless. Here are a few ideas to spark your creativity:
Resin coasters
Resin jewelry
Resin paintings
Resin furniture
Resin keychains
These are just a few examples, and you can explore and experiment with different projects to find what suits your style and interests
Resin art is a fantastic way to unleash your creativity and create stunning designs that will leave everyone in awe. With a few basic materials and a little imagination, you can dive into the world of resin art and bring your wildest ideas to life. So, grab your supplies, get creative, and let resin art be your new artistic adventure!
follow us
Get in touch