How to do nail art
nails art
LIFESTYLE
How to do Nail art
Nail art is a fun and creative way to add some extra flair to your nails. Whether you're looking for a subtle accent or a bold statement, there are plenty of ways to get creative with your nails. In this blog, we'll go over some tips and techniques for doing your own nail art at home.
Gather your supplies The first step in doing your own nail art is to gather your supplies. You'll need nail polish in your desired colors, a base coat and top coat, a dotting tool, a thin brush, and any other tools or accessories you want to use, such as rhinestones, glitter, or nail stickers.
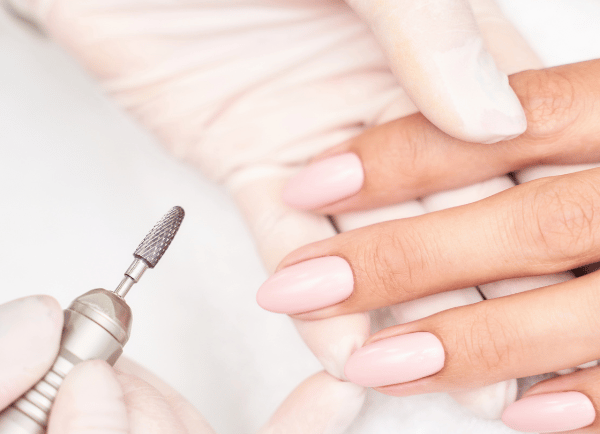
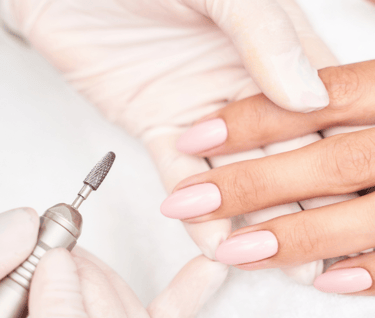
Prep your nails Before you start applying nail polish, you'll want to prep your nails to ensure a smooth and long-lasting finish. Start by cleaning your nails with nail polish remover to remove any oils or debris. Then, trim and file your nails to your desired length and shape. Finally, apply a base coat to protect your nails and help the polish adhere better.
Get creative with your designs Now it's time to get creative with your designs! There are endless possibilities when it comes to nail art, so feel free to experiment and try different techniques. Here are a few ideas to get you started:
Polka dots:
Use a dotting tool to create evenly spaced dots in your desired color. You can create a pattern or random design for a playful look.
Stripes:
Use a thin brush to create stripes in your desired color. You can vary the thickness and direction of the stripes for a unique look.
Ombré:
Use a sponge to blend two or more colors together for an ombré effect. This works especially well with pastel or bright colors.
Glitter:
Add some sparkle to your nails with glitter polish or loose glitter. You can apply it all over your nails or just as an accent.
Stickers:
Nail stickers are an easy way to add designs to your nails without any artistic skill required. Simply apply the sticker to your nail and seal with a top coat.
Seal the deal with a top coat Once you've finished your nail art design, it's important to seal it with a top coat. This will protect your design and help it last longer. Apply a clear top coat over your entire nail, making sure to cover the edges and tips.
Practice makes perfect Like any skill, doing nail art takes practice. Don't get discouraged if your first attempts don't turn out perfectly. Keep practicing and trying new techniques, and you'll soon become a nail art pro!
doing your own nail art is a fun and creative way to express yourself. With a few simple supplies and some creativity, you can create endless designs and styles. Whether you're looking for a subtle accent or a bold statement, nail art is a great way to add some extra flair to your look.
follow us
Get in touch